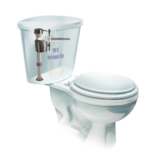
If you’re tired of dealing with a leaky toilet that splashes water every time you flush, we’ve got a solution for you. Let us show you how to replace the rubber at the back of the toilet.
When it comes to choosing between key seal and pan cone rubbers, we highly recommend going for the pan cone. In our experience, they tend to last longer and are less likely to cause any leaks. So let’s get started and fix that annoying problem once and for all.
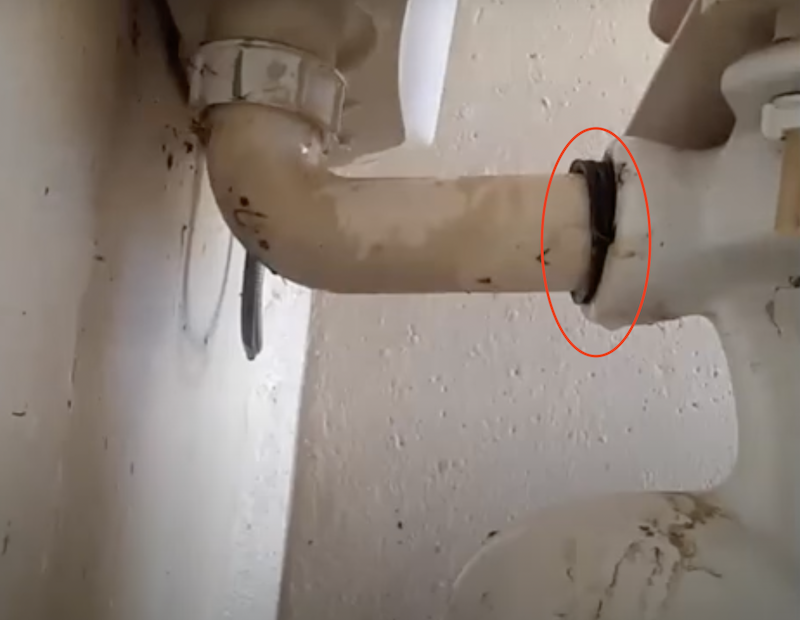
Replacing the rubber seal at the back of the toilet is not a difficult task, but there is a little trick to it. This rubber seal, known as the pan cone rubber, is located where the pipe connects from the toilet cistern to the pan.
Pan cone rubbers / Toilet Rubber Seals / Pan Seal
Pan cone rubbers are the rubber seals located at the back of the toilet where the pipe connects from the toilet cistern to the pan. They play a crucial role in preventing leaks and ensuring the proper functioning of the toilet.
Pan cone rubber sizes
The rubber size for toilets are all the same, with only the part that fits onto the flush pipe varying.
Pan cone rubbers come in two sizes;
38mm
50mm
Replacing the Toilet Pan Seal Steps
2. Empty the toilet tank of water
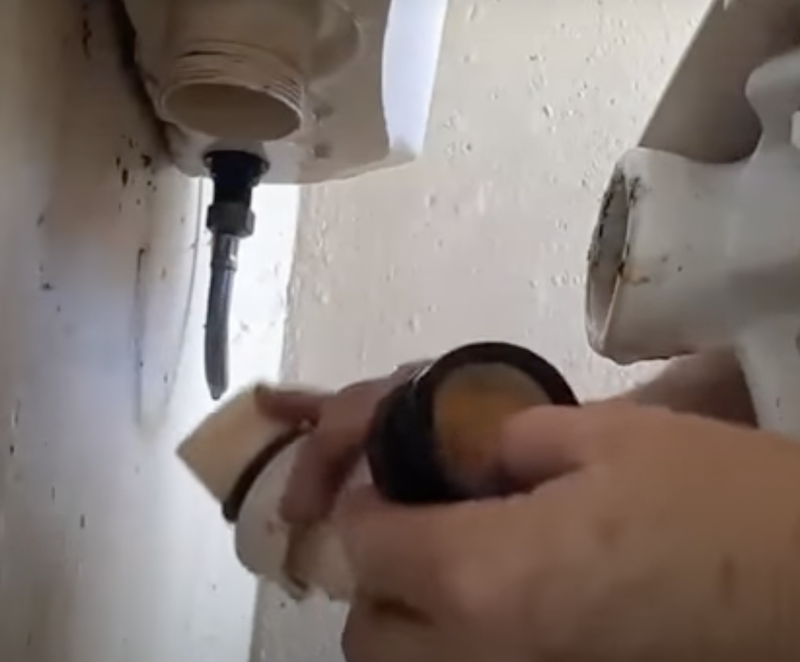
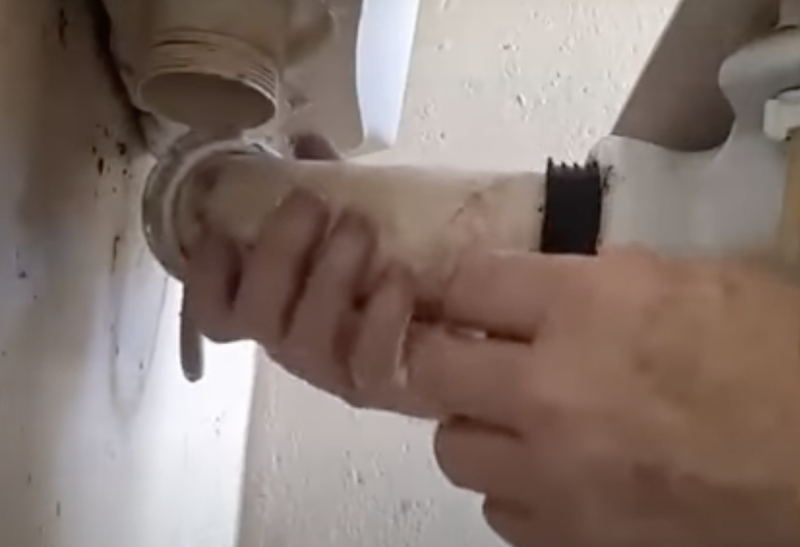
3. Under the cistern, undo the nut/rubber.
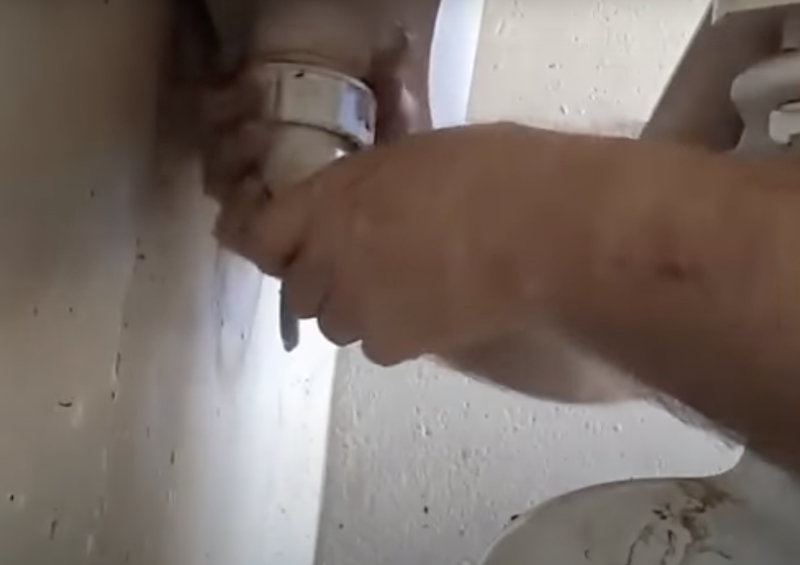
4. Pull the rubber sealer down
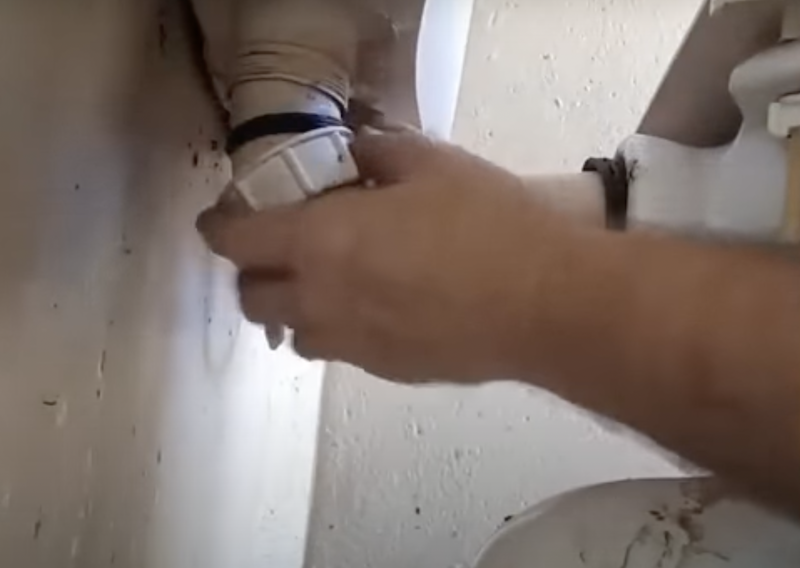
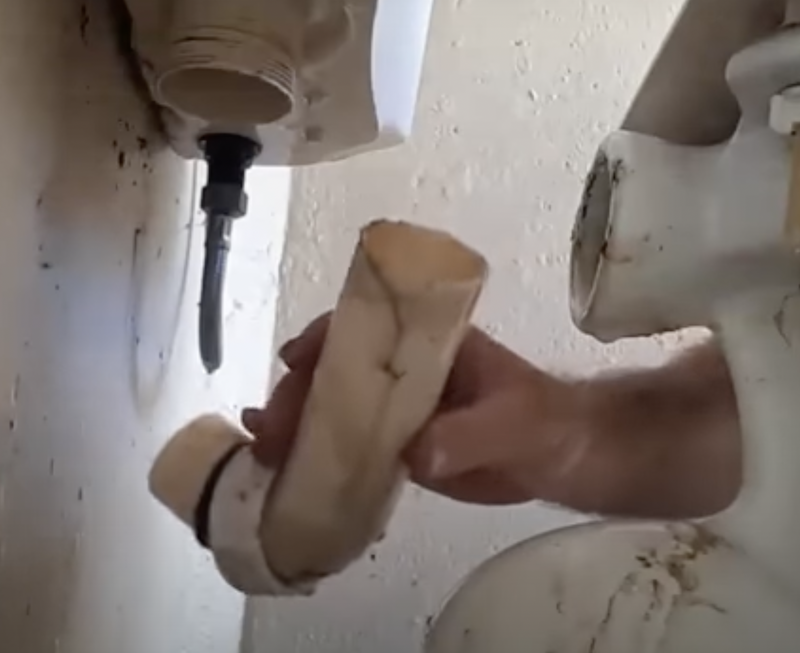
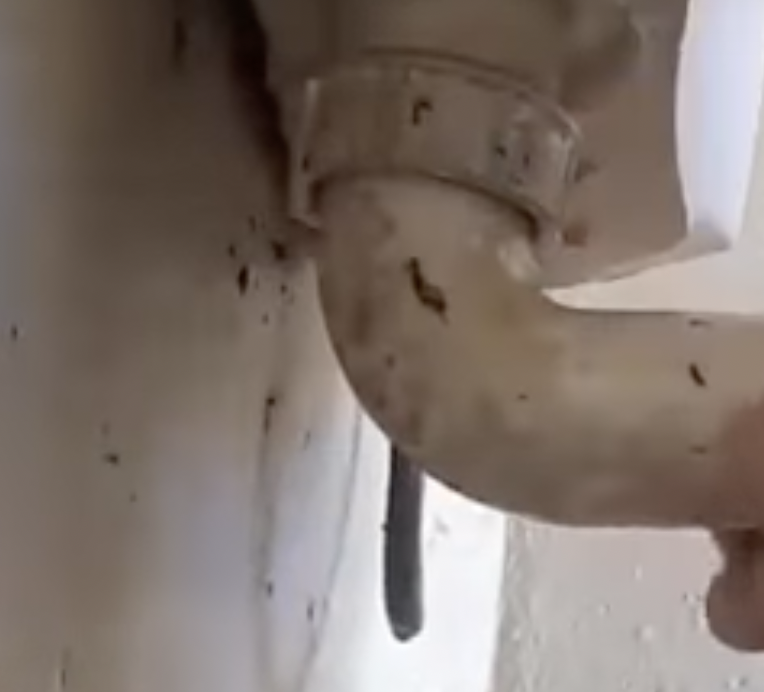
5. Remove the pan seal rubber pipe
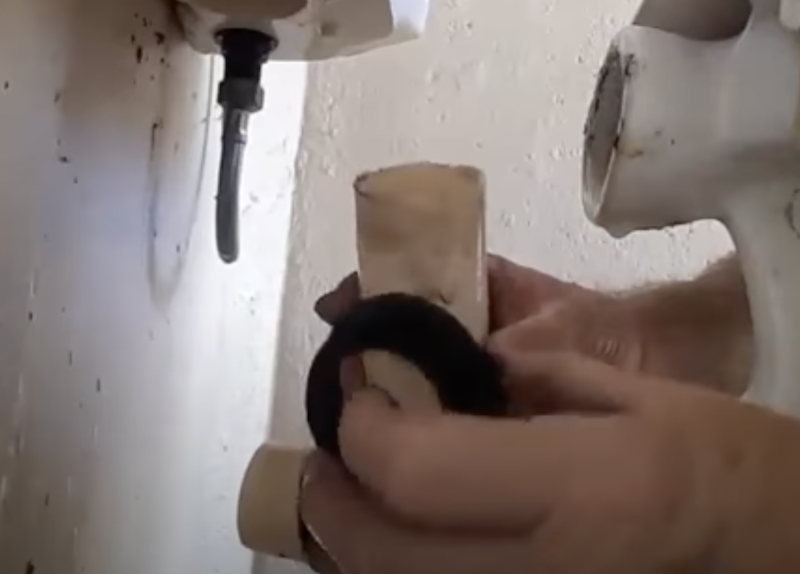
6. Remove the pan seal rubber
7. Replace with a new pan seal rubber
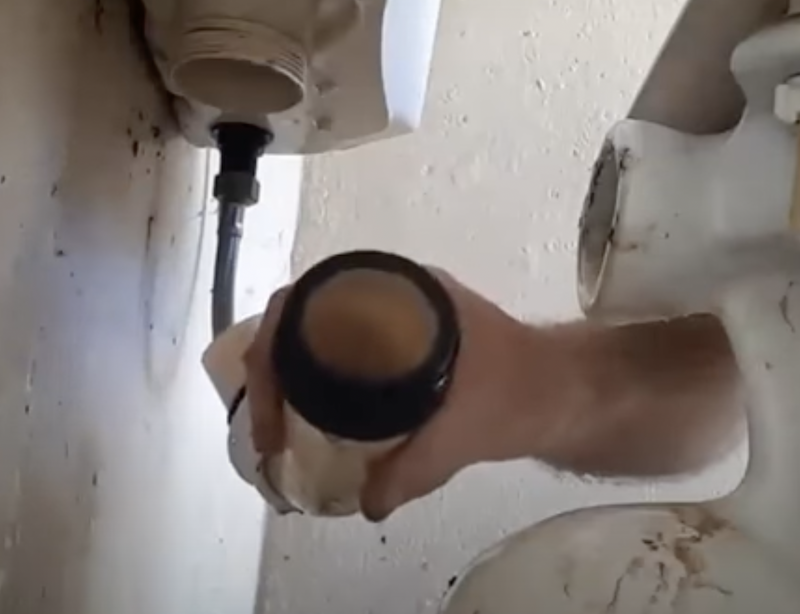
8. Place the seal into the back of the toilet bowel
9. Twist the top nut/rubber in the base of the cistern
If everything looks good, turn water back on – double-check that water does not overflow from any openings when the tank is filled – and there you have it! You have effectively replaced the worn-out rubber seal without any difficulty.
Is your toilet running, and you need help to stop it, check out our guide to fixing a running toilet.
Do you need your toilet repaired or a new toilet installed? Contact us, At Your Maintenance.