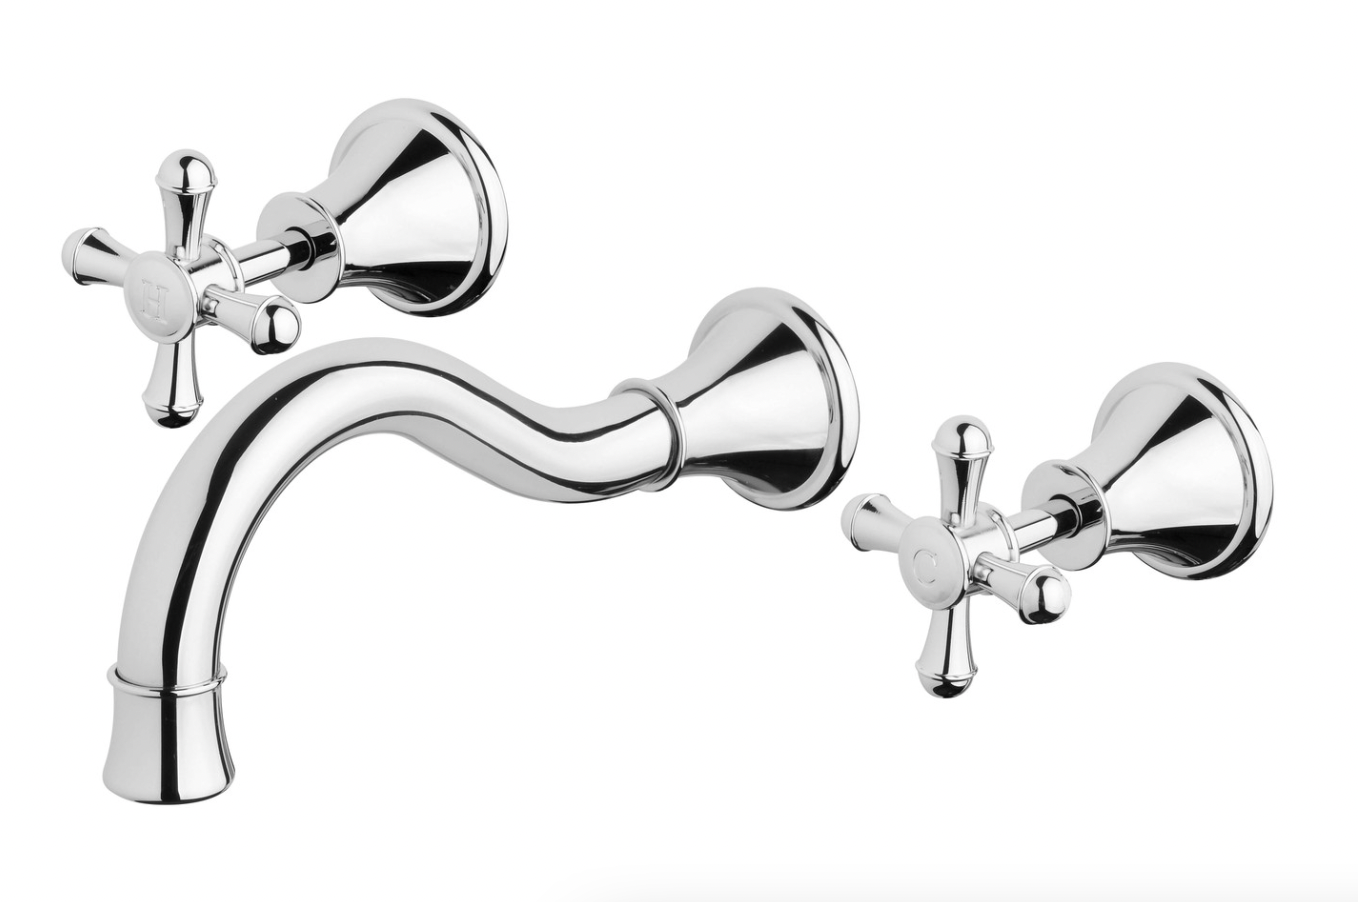
Fixing a tap leak by changing a tap washer isn’t as difficult as it may seem. Instead of calling a plumber, you can easily follow these simple steps.
Learning how to change a tap washer is an important skill that can transform you from a DIY novice to an expert in no time.
If you’re completely clueless about tap washers and have no clue how to replace one, then this guide is for you. And here’s the best part: there’s no need for drilling, no messing around with pipes, and definitely no exposure to hazardous chemicals.
What is a tap washer?
A tap washer is a small rubber or fiber ring that is used to create a watertight seal inside a faucet or tap. It is placed between the faucet body and the valve seat to prevent water from leaking out when the tap is turned off.
Tap washers are commonly found in traditional faucets and are prone to wear and tear over time, leading to dripping or leaking taps.
Replacing a washer should be done every 1 – 2 years.
How do I know what size tap washer to buy?
Consider the size of the tap seat, as the washer must align with it. Additionally, take into account the type and age of your tap, as they can affect the required washer size. Older and traditional taps typically require larger washers, whereas newer models and mixer taps may take smaller ones.
Can I change a tap washer without turning the water off?
Changing a tap washer without turning off the water is not a typical practice. So it’s not a great idea However, there are certain techniques that can be employed in specific situations to accomplish this. It is important to note that we do not endorse or recommend changing a tap washer without shutting off the water supply.
How often do tap washers need replacing?
If you find yourself struggling to tighten the tap enough to stop even the tiniest water leak, it’s high time to replace the washer. Washers are prone to wear and tear over time, so it’s recommended to replace them every 1-2 years.
Where is the Tap Washer Located?
A standard tap is composed of two essential components: the seat and the tap washer. As you twist the tap handle, the washer moves towards the seat, generating a surge of pressure. This pressure compels the water to flow out through the spout and into the sink. Conversely, when you shut off the tap, the washer firmly presses against the seat, creating a watertight seal that prevents any further water from escaping through the tap.
Tap washers, unfortunately, have a limited lifespan. When they become damaged, the inevitable consequence is a pesky leak. If wear and tear prevent the washer from forming a watertight seal, a small trickle of water will find its way through the spout. The solution? Simply replace the worn tap washer to put an end to any unwanted leaks.
New tap washers are affordable and readily available. You can find them at almost any DIY or hardware store. They come in various sizes and are typically sold in packs of 4, so you won’t have to buy them frequently.
How to Change a Tap Washer
First, always turn off your water supply.
Tools: a flat-headed screwdriver, a spanner, a tap spanner, an old towel or cloth, and your packet of tap washers.
Step 1 – Turn off the Water
To avoid a potential bathroom or kitchen flood, the initial action required is to shut off the water supply. Look for an isolation valve beneath the tap, which can be utilized to stop the water flow to that specific sink. In case you don’t have this valve, you’ll need to turn off the water at the mains. If your intention is to replace the tap washer on the hot water tap, remember to also switch off the water heater.
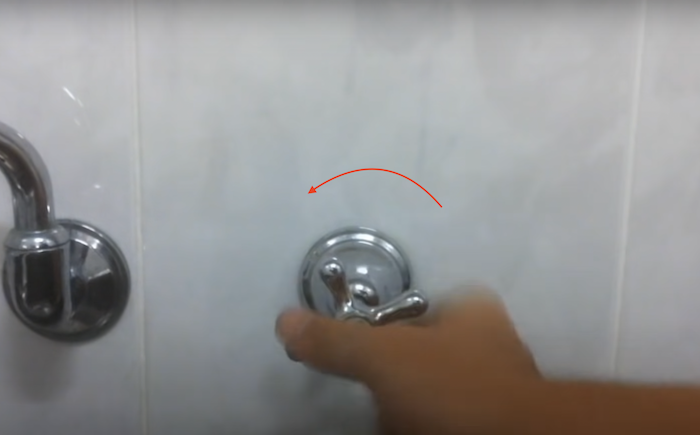
Turn Tap fully open, by turning to the left.
Step 2 – Remove the Locking Screw
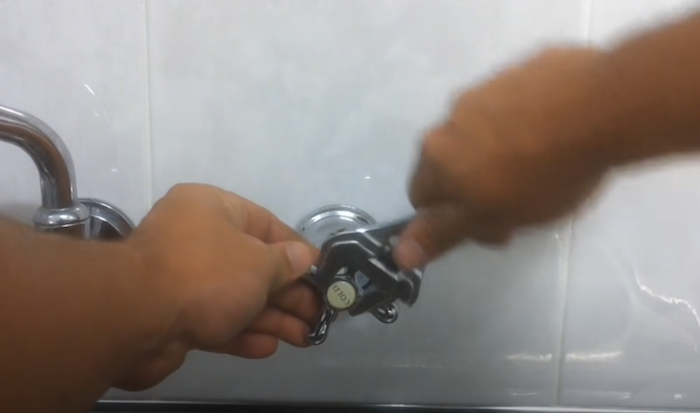
Using your screwdriver and hands.
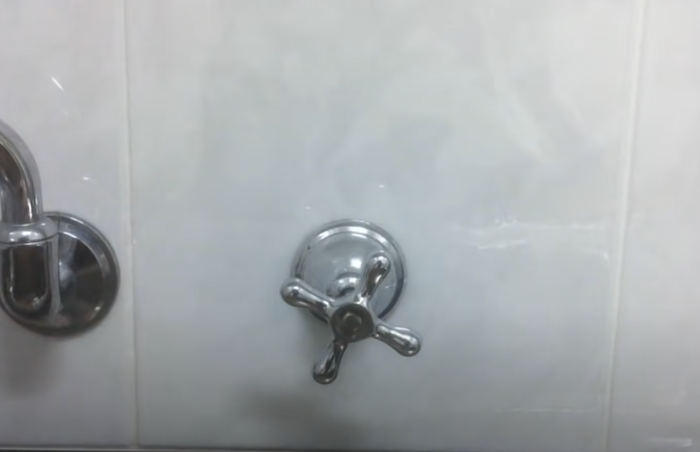
Remove the locking screw to remove the cover from the tap.
Step 3 – Remove the Tap Handle
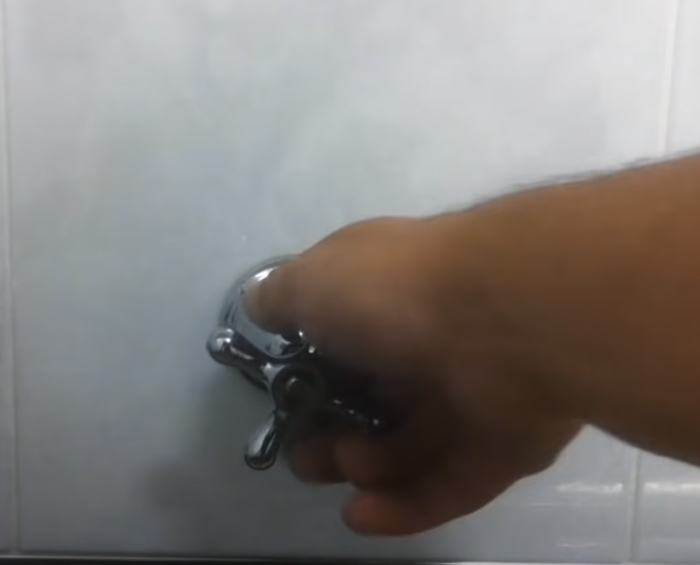
The tap handle should easily now slide off.
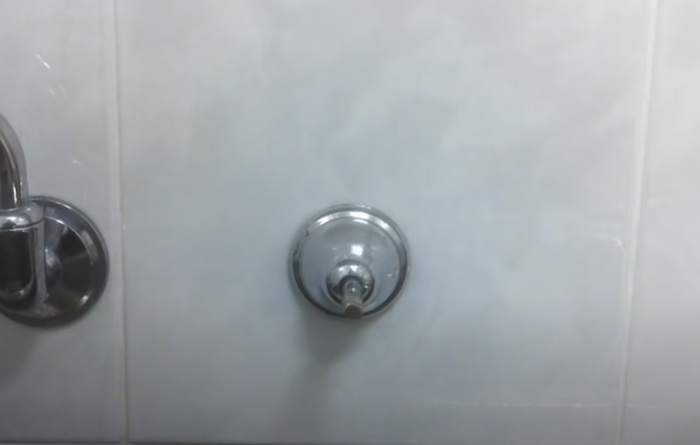
Tap handle is now off.
Step 4 – Tap Bonnet
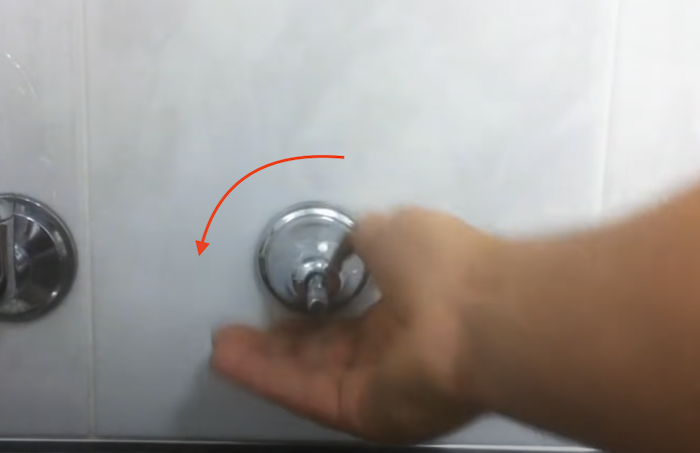
Unscrew the tap bonnet by turning to the left.
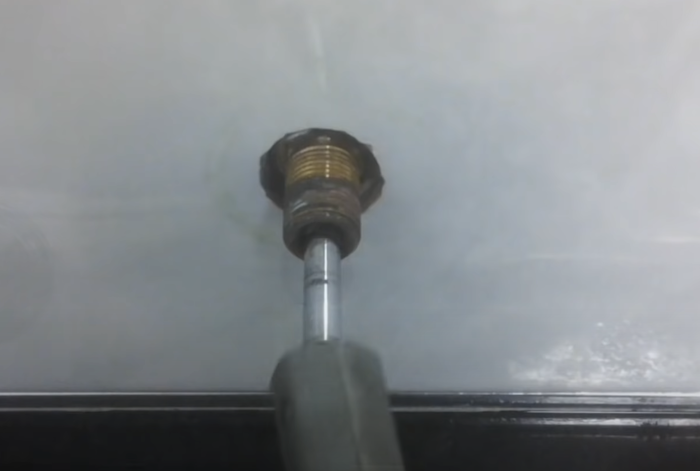
Step 5 – Tap Spindle
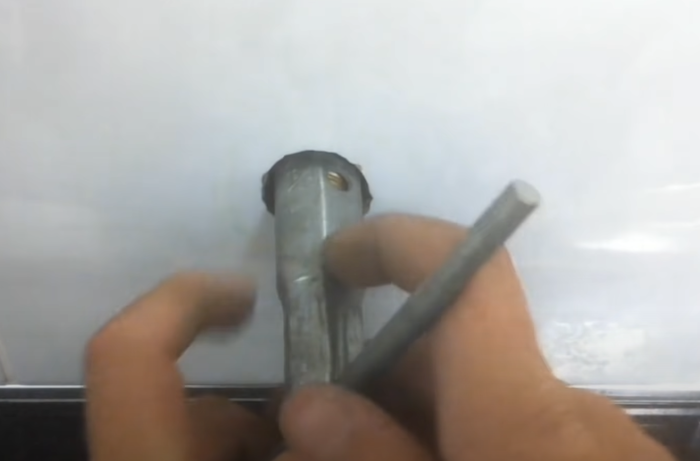
Remove the tap spindle with a tap spanner, again turning to the left.
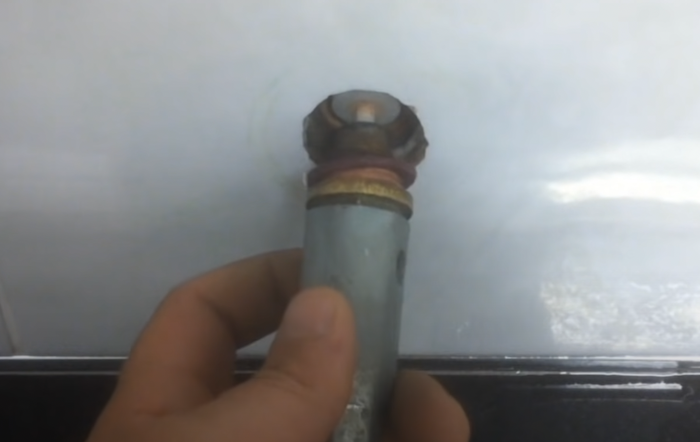
Once fully turned the spindle will come out.
Step 6 – Remove old washer
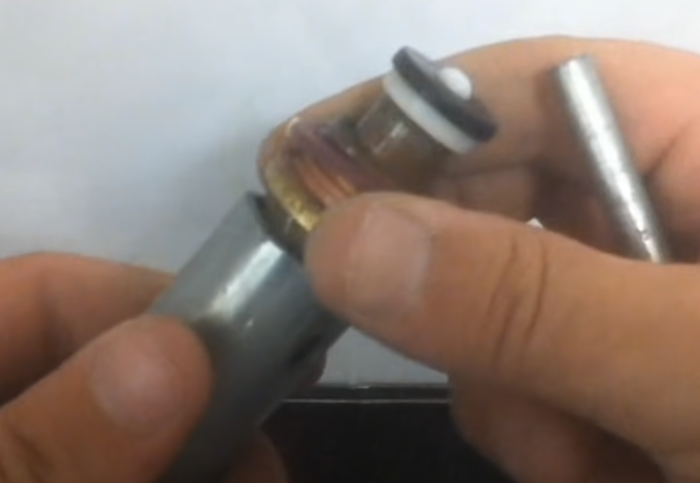
Remove the old washer from the top
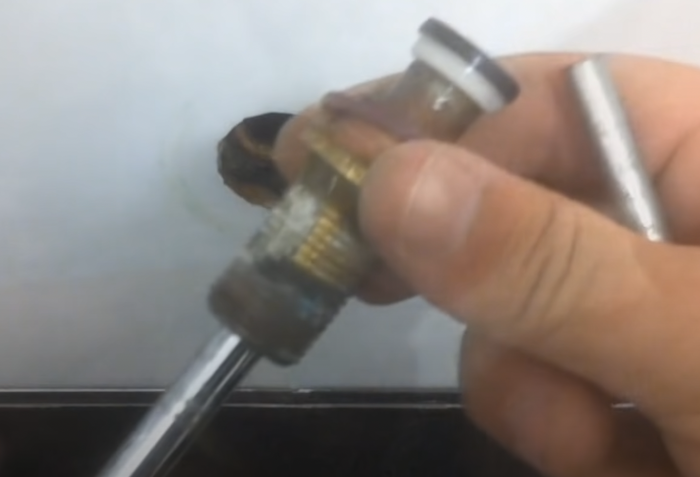
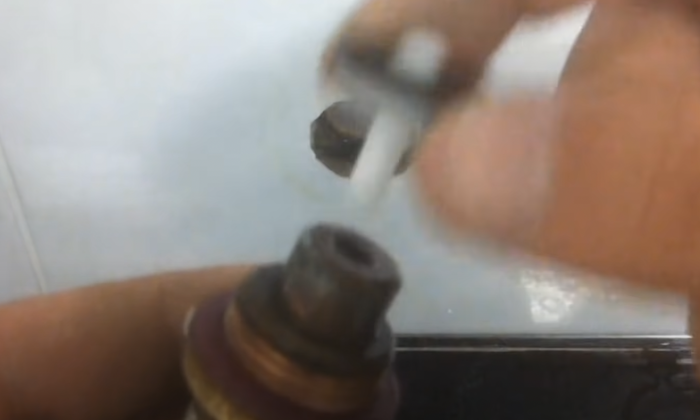
Step 7 – New washer
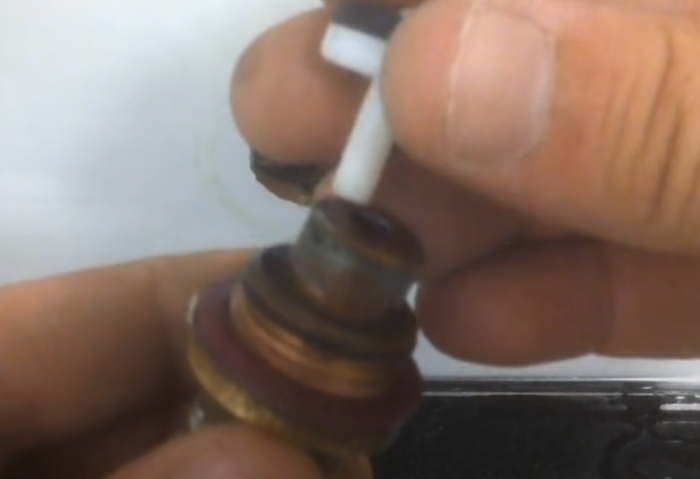
Replace the old, worn washer with a new tap washer in the same size.
Step 8 – Reinstall Spindle
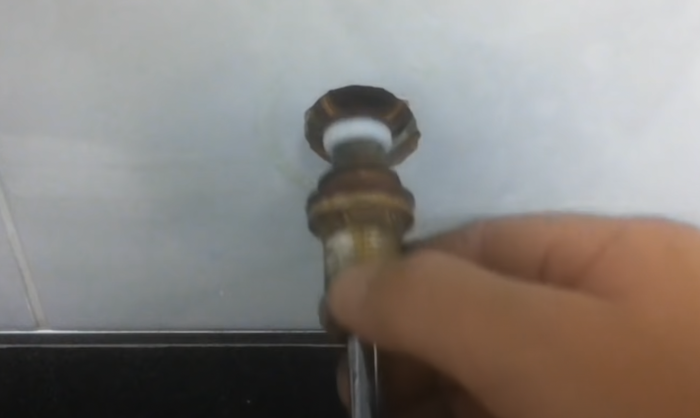
Place the spindle back into the hole.
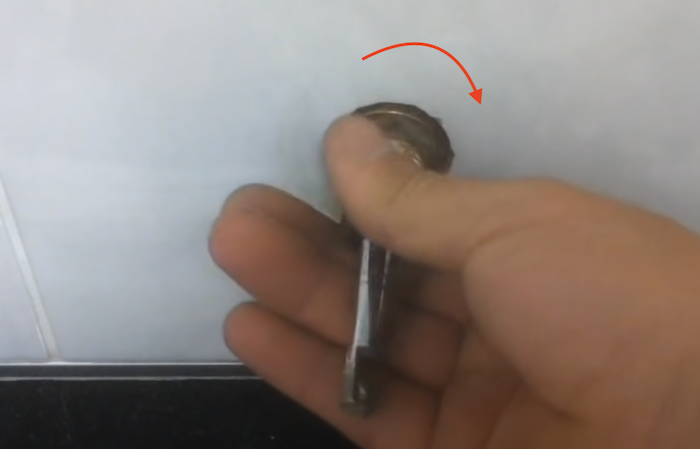
Screw the spindle to the right.
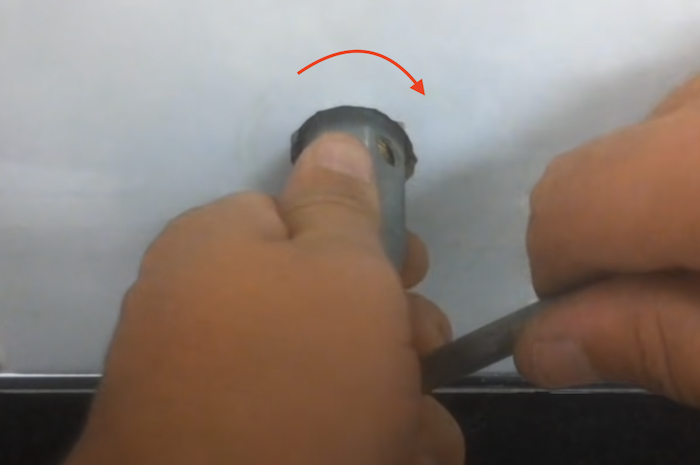
Tighten with a tap spanner.
Step 9 – Reinstall Tap Bonnet
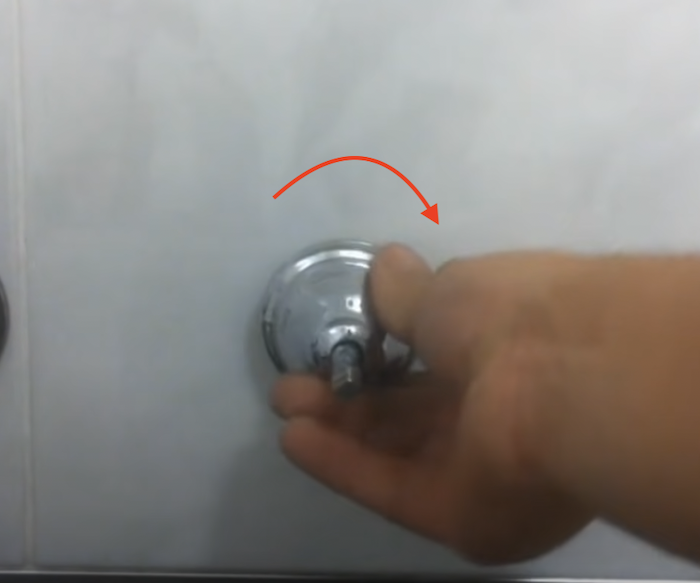
Turn the tap bonnet to the right to tighten.
Step 10 – Reinstall Tap Handle and locking screw
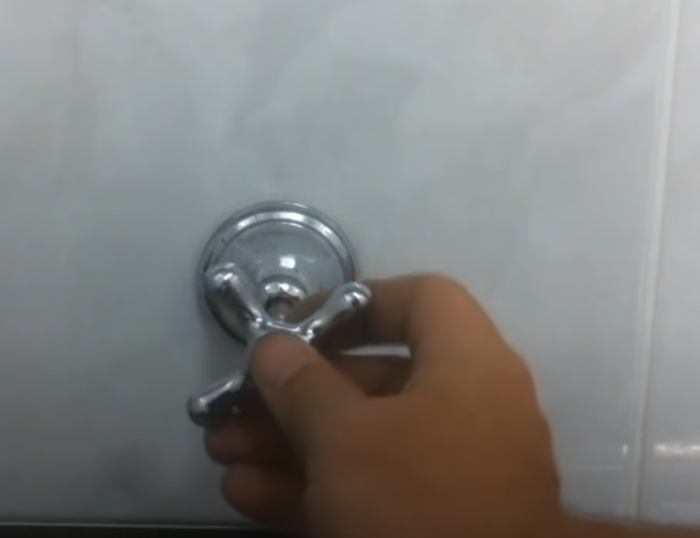
Tap handle will slide back on.
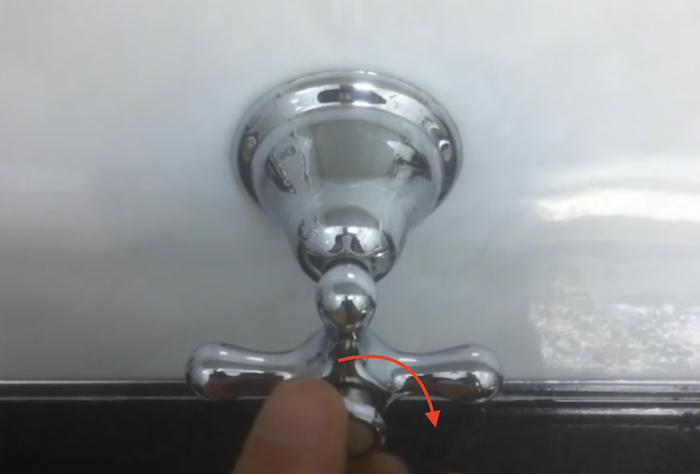
Locking screw twist back on and tighten by turning to the right with your hand.
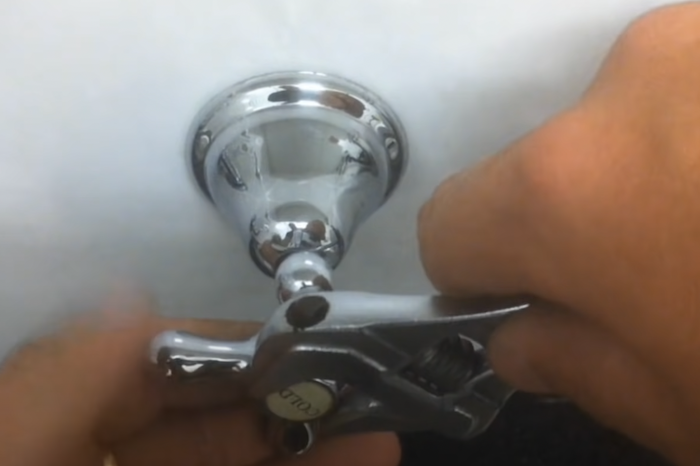
Tighten locking screw with spanner.
Step 11 – Turn tap to closed position
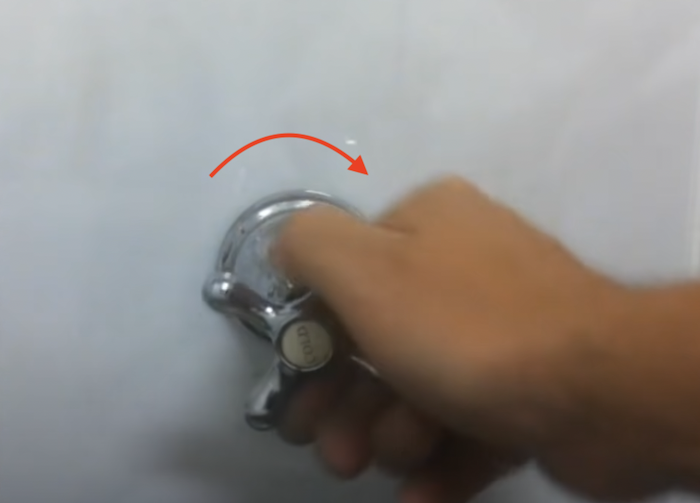
Turn the tap to the closed position (to the right).
Turn the water mains back on.
Then turn it on and off to test.
Do you need your washers replaced by a professional? Contact us, At Your Maintenance.


