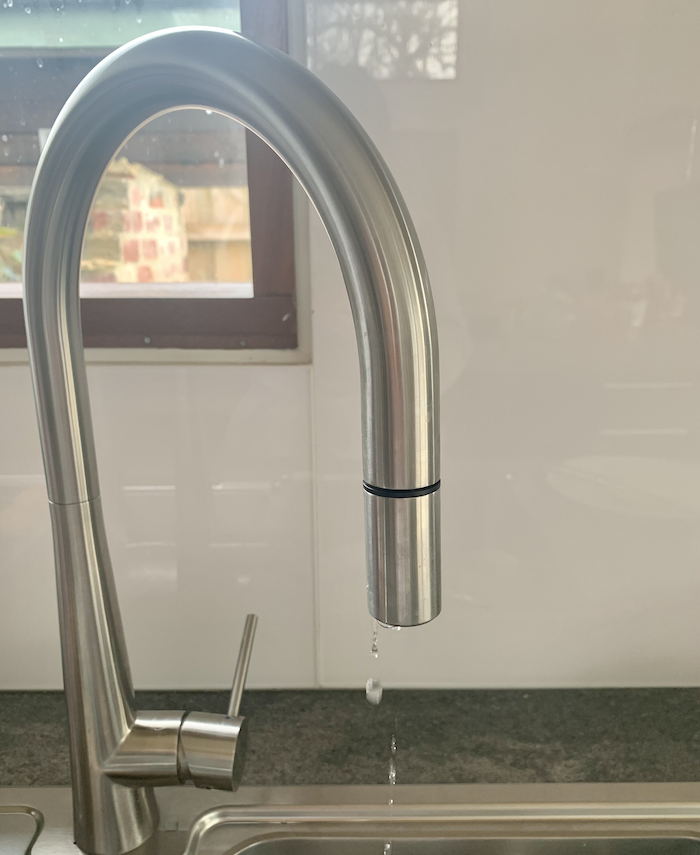
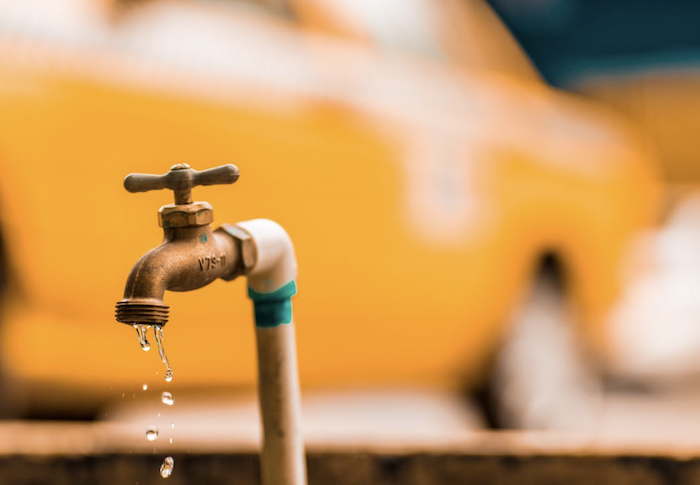
Is there anything more annoying and wasteful than a dripping tap? No, we think not. We completely understand your need to get it fixed, this might be the perfect DIY opportunity.
The great news is that we are here to help you! We’ve put together a fairly simple and straightforward guide on how to identify the problem and solve it! But first, safety tips and supplies list, and then you can get on with it.
Safety tips before you start
These might seem like a no-brainer, but bear with us – a gentle reminder never hurt anyone.
- Use the right tools for the job (and don’t misuse them if the temper flares)
- Don’t use any electrical devices or have any electrical power sources near the area while you fix the leak.
- Turn off the main water supply before you begin. Otherwise, you’ll be starring in a comedic water-flooding situation.
- Turn off the main water supply no matter the size of the leaky tap. Thanks to water pressure, you do not want to be the recipient of a fast-flying cap or knob.
- If you are not confident. Call your local plumber to repair your tap.
Tools and supplies you will need:
- An adjustable spanner or pipe grips
- Cloths or rags
- Slotted and flathead screwdriver
- Utility knife
- Replacement washer or O-ring, or ceramic disc cartridge
We know what you’re thinking, so before you rush off and randomly buy a whole bunch of unnecessary repair parts for your leaky tap job, you’ll need to identify what kind of tap you have.
Identifying your tap
In most homes, the kitchen and bathroom sink either have a Mixer tap – where you control the water temperature using both handles for either hot or cold. Or a Pillar tap with two separate taps (hot and cold), or a Monobloc tap, where the temperature and water flow are done through one lever.
Tap washers, O-rings and ceramic disc cartridges
Not all taps have washers, and not all washers are the same size. Before you can even begin to repair the leak, you will need to dismantle your tap to identify what needs replacing.
We suggest that you take the part to your local hardware/plumbing store to get assistance in buying the right part. Monobloc or modern taps normally have ceramic disc cartridges, for instance.
Identifying the cause of the leak
Generally speaking, the washer probably needs replacing if the tap drips when turned off. If water oozes out between the body of the tap and the spindle or out from beneath the cover plate when the tap is turned on, then the O-ring probably needs replacing.
Most of the time, leaks begin because of general wear & tear to the tap parts and also sustained use and exposure to extreme temperatures. Everything needs replacing eventually.
Sometimes, a leak is due to high pressure. It might be more serious than you think.
Pro Tip: High water pressure jobs are best left to professional plumbers!
Step by step guide to stopping your tap from dripping
Step 1: Turn off the water supply
- Turn off your mains water supply by locating the stopcock or isolation valve (normally located under the sink). If there are valves for hot and cold water, turn them both off.
- Open the tap and let the water run out.
Step 2: Take the tap apart
- Put a plug into the sink so that nothing important gets lost down the drain as you dismantle the tap.
- Unscrew the button/screw holding the handle in place. Remove that and the cover plate.
Pro Tip: If this is your first time fixing a leaking tap, you can either lay out the pieces in the order that you took them off (so that it is easier to put them back together again), or you can take photos at each step for a quick reference.
- Use your spanner to loosen the body and unwind it (Lefty-loosey, Righty-tighty).
- Remove the body washer at the tap base and pull out the jumper valve, which also has a washer attached to its base.
- Wind the spindle (short little metal pipe) out of the body of the tap to expose the O-ring (sitting in a groove). Either pry it off with the screwdriver or cut it off with the utility knife.
- Clean all the parts with a cloth or rags to remove dirt and grime.
Step 3: Replacing the damaged part
We have some quick instructions below on which type of tap you have and which part needs replacing. More in-depth instructions on changing a washer are here.
Replacing a washer
- If you have a traditional tap use the adjustable spanner to grip the brass valve, you should turn the tap until you can remove it with your hand.
- Unscrew it and remove the washer. If it looks damaged, you’ll need to replace it. If not, give it a good clean and screw the valve back on.
- Put the tap back together again (in reverse order to how you took it apart).
Replacing an O-ring
- This looks a little bigger than a washer and is situated at the base of the spout.
- Use a flat-head screwdriver to remove it, or if it looks damaged and needs replacing, then you can cut it off with the utility knife.
- As with the washer, clean or replace and put it back together with the same way you took it apart.
Replacing a ceramic disk cartridge
- Remove the brass valve using the adjustable spanner until it’s loose enough to remove by hand.
- Remove the old cartridge, replace it with the new (remember to clean everything), and put it back together again in the same way you dismantled it.
Step 4: Turn the water back on.
- Turn the main water supply back on through the stopcock or isolation valves from step 1. Remember to let it run a bit to get any airlocks out of the system.
- Once the water is running freely, switch the tap off and voila! Leak be gone!
Conclusion
Leaky tap repair is pretty straightforward and a great skill to have for future DIY home projects. If you’ve done everything you can and there is still a problem, remember there is no shame in calling a professional. That is, after all, what we are here for. Give At Your Maintenance a call.
