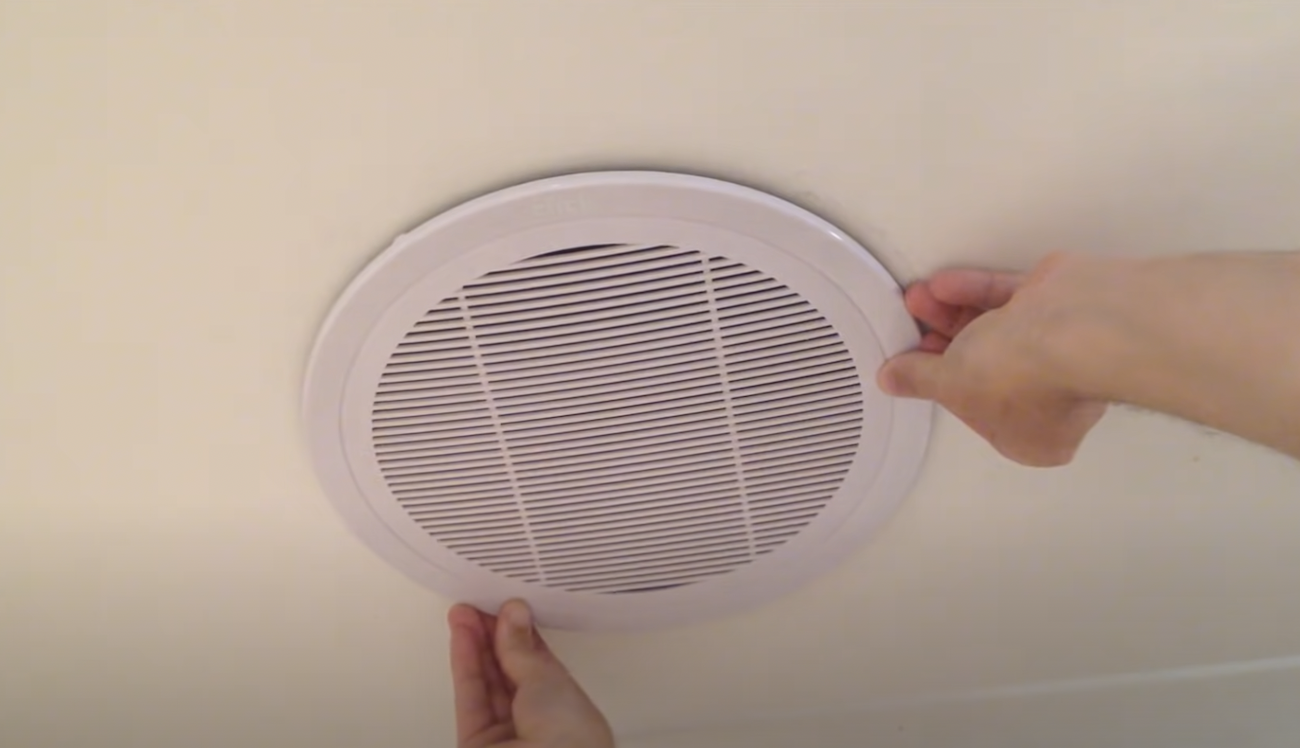
Cleaning a greasy ceiling exhaust fan isn’t as difficult as it may seem. Instead of calling a cleaner, you can easily follow these simple steps.
Prevent mould, mildew, and house fires when you learn how to clean a bathroom fan. Maintaining a clean and functional bathroom fan is crucial for the overall health and safety of your home.
By regularly cleaning, servicing and maintaining your bathroom fan, you can prevent the growth of mould and mildew, which can lead to respiratory issues and other health problems.
A dirty or clogged fan can pose a fire hazard due to the buildup of dust and debris. Taking the time to properly clean your bathroom fan will not only improve indoor air quality but also ensure that it operates efficiently, prolonging its lifespan.
What Does a Bathroom Exhaust Fan Do?
A bathroom exhaust fan is a powerful tool that eliminates unpleasant smells, airborne pollutants, and excess moisture from the air. By effectively removing damp air from your bathroom, it prevents the formation of harmful mould and mildew, as well as the deterioration of paint and metal fixtures due to rust. It also safeguards the structural integrity of your space, preventing any potential damage to the framing.
To ensure optimal efficiency and prevent potential issues, it is important to maintain a clean exhaust fan. Neglecting this essential task can result in problems. It is recommended to thoroughly clean your bathroom exhaust fan every six months.
Will baking soda and vinegar remove grease?
Baking soda and vinegar make a powerful natural cleaning duo when it comes to battling stubborn grease stains. With its alkali base, baking soda effectively dissolves dirt and grease, leaving your baking tray spotless. Vinegar acts as an explosive lifting agent, further enhancing the cleaning power of this dynamic combination.
What you will need:
Ladder
Microfiber towel
Water
Laundry washing powder/dishwashing liquid
Scrubbing brush / old tooth brush
Hair dryer
Paper towel / wet wipe
Step 1 – Remove the Vent Cover
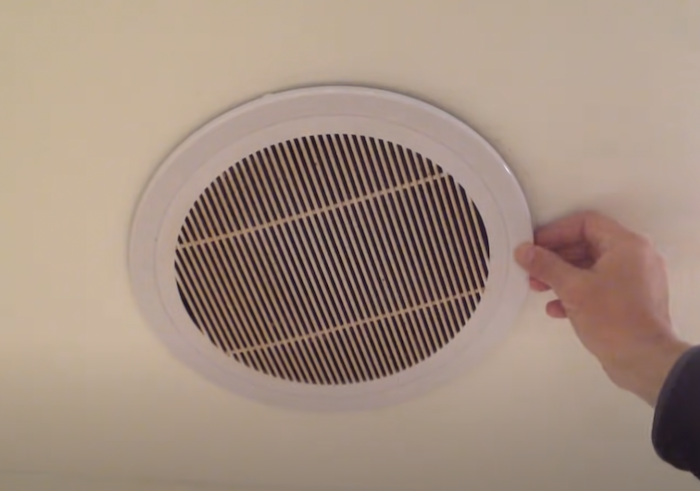
Ensure that the fan is powered off. For added safety, switch off the power box.
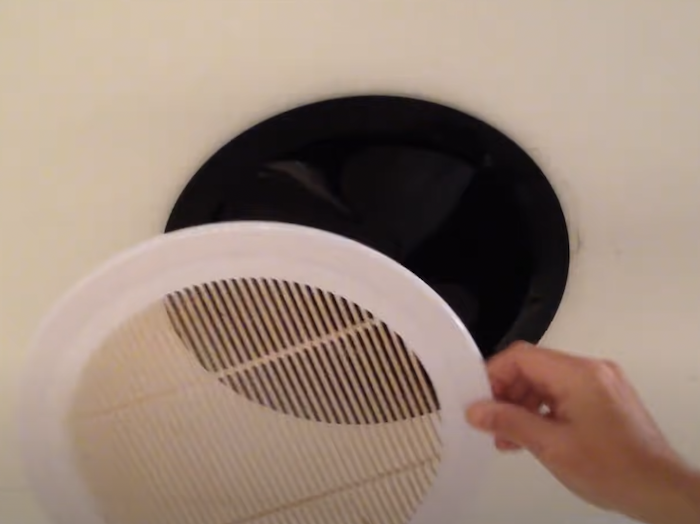
Gently pull off the fan cover.
Some covers have metal mounting wires that need to be pressed together.
Some easily pull off.
Don’t force it.
Step 2 – Fill a Sink
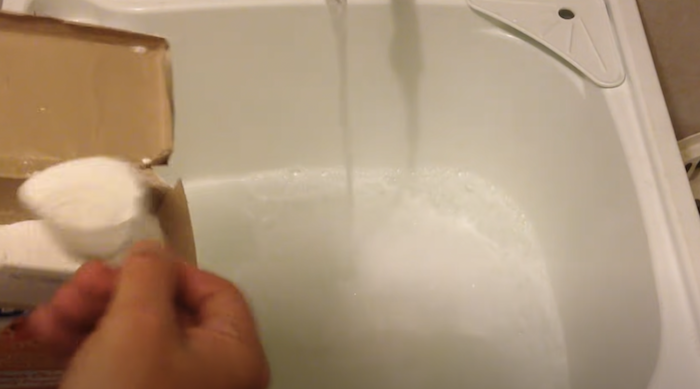
Fill your bathroom or laundry sink with warm water, two-thirds of the way.
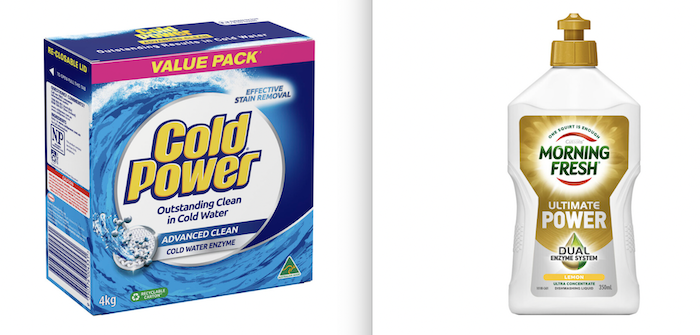
Add 2 scoops of laundry washing powder. Any kind that you have handy will work.
An alternative to laundry powder is to use few drops of dishwashing liquid.
Step 3 – Soak Vent Cover
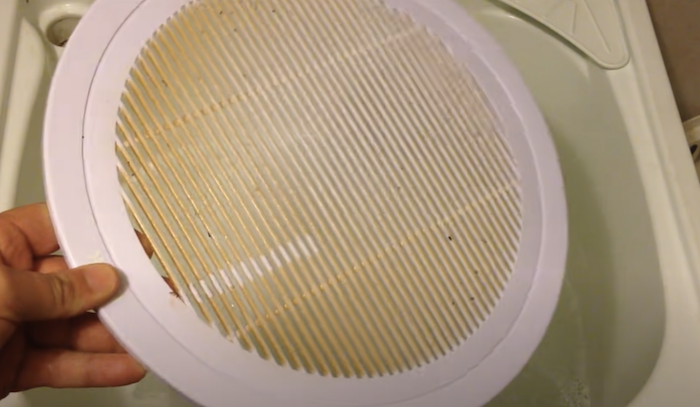
Soak the cover in the soapy water for half an hour.
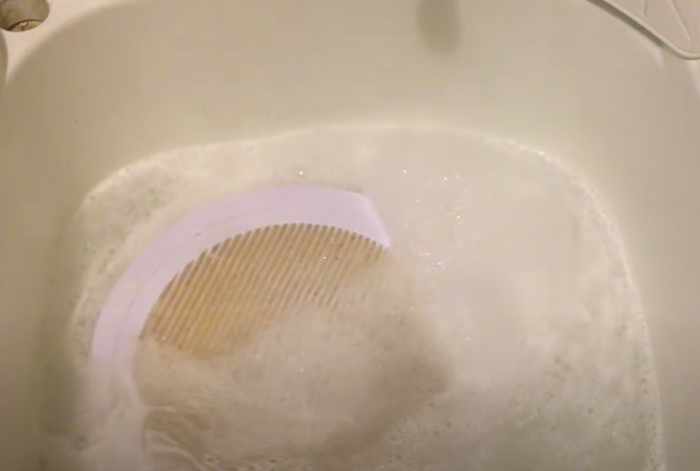
Step 4 – Scrub
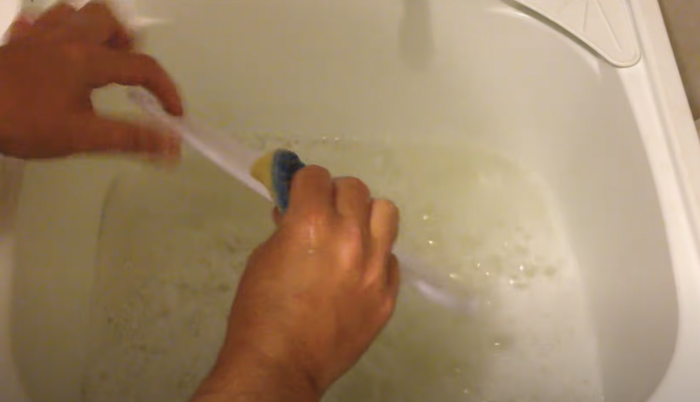
Then scrub it with a cloth or a sponge, a scrubbing brush or an old toothbrush is great for getting into the little crevices.
Step 5 – Rinse
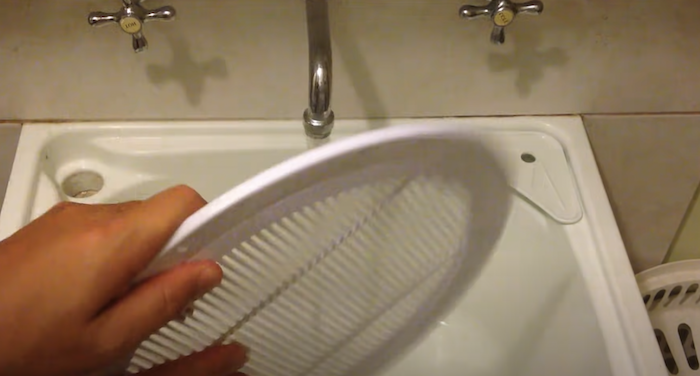
Rinse the vent with cold water. And dry with cloth.
Step 6 – Clean the fan
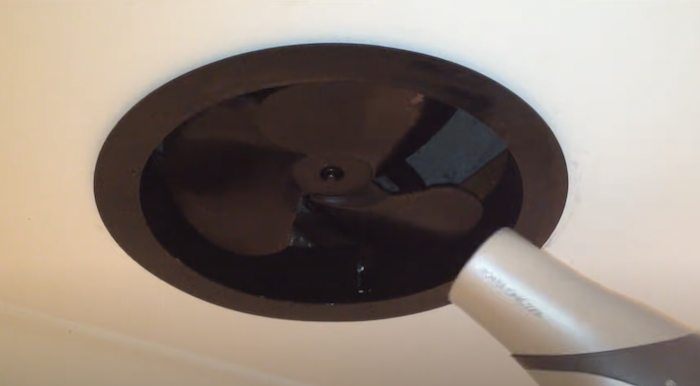
Heat the greasy fan with a hair dryer for a couple of minutes. This loosens up the grease and makes it easier to wipe off the blades.
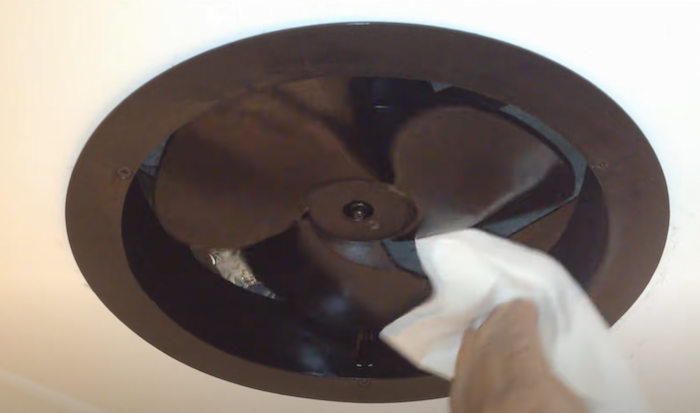
Wipe clean with a piece of paper towel or a wet wipe.
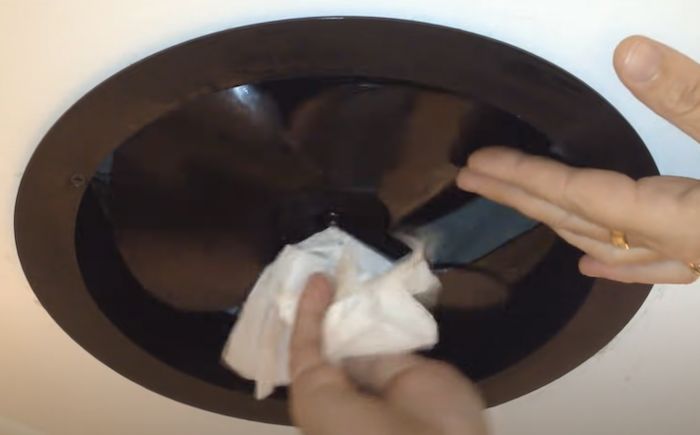
You might need to use two hands. One to hold the blade and the other to wipe.
Step 7 – Put Cover Back
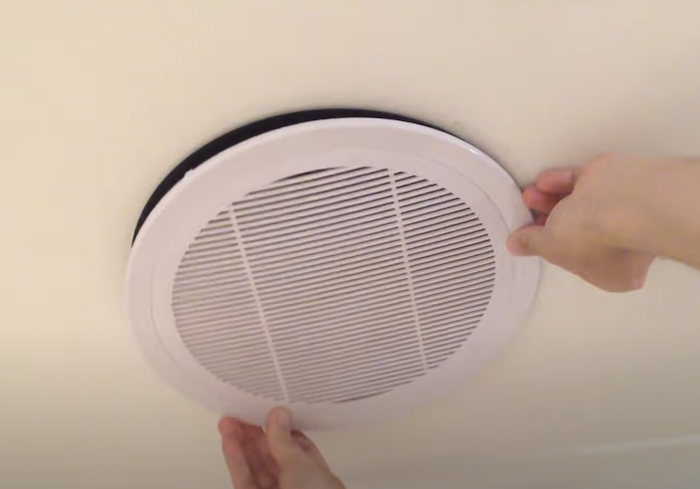
Once the cover is fully dry, clip the cover back onto the vent.
Do you need your bathroom ceiling fan repaired or replaced? Contact us, At Your Maintenance.


