Have you been avoiding cleaning your oven? It’s been on your to-do list, but as soon as the oven door closes, you think to yourself, “out of sight, out of mind!” Or you have been thinking, “I just cooked in the oven, and now it’s too hot to clean.” Or you don’t remember the last time it was cleaned, and now it’s 20 times more dirty than it was to start with, and you just don’t know where to even begin.
Well, fear not! You have come to the right place to get all the tips and tricks to figure out how to get that oven squeaky clean!

How often to clean your oven
As a general rule of thumb, it is recommended to clean the oven every three to six months. This prevents any serious build up of grime and baked food and grease on the oven surfaces. The more often you clean the oven, the easier the cleaning process becomes. Spot cleaning splatters after a bake or roast will also help to make the job easier overall.
Oven cleaner products
Oven cleaners can be classified into two types: natural and synthetic.
Natural oven cleaning products
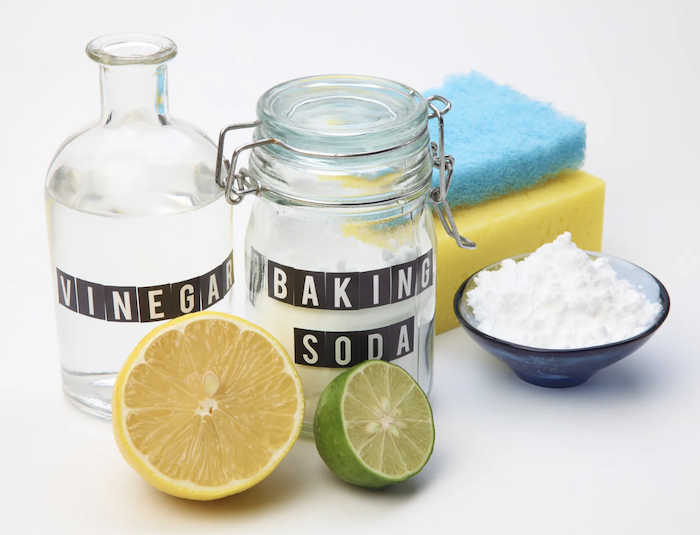
If you’re looking for an all-natural way to clean your oven, you could try using eucalyptus oil (like the one from Bosisto’s), white vinegar or apple cider vinegar, and bicarb soda / baking soda. These ingredients are good at killing bacteria, but they don’t contain surfactants, so it might be difficult to remove stuck-on food particles.
Chemical oven cleaners
If you’re looking for an oven cleaner that will get the job done without any fuss, you can find what you’re looking for from brands like Easy-Off, Selleys, and OzKleen. You can pick up a bottle from your local supermarket, or buy them online. Just be sure to take note of the safety precautions on the label before you start cleaning – most oven cleaners use chemicals that require the use of gloves. A mask is also recommended.
Cleaning your oven with baking soda or bicarb soda
Are Baking Soda and Bicarb Soda the same thing?
Yes, in Australia we use the term Bicarb Soda (also Bi-Carb Soda) and also Baking Soda. They are the exact same product.
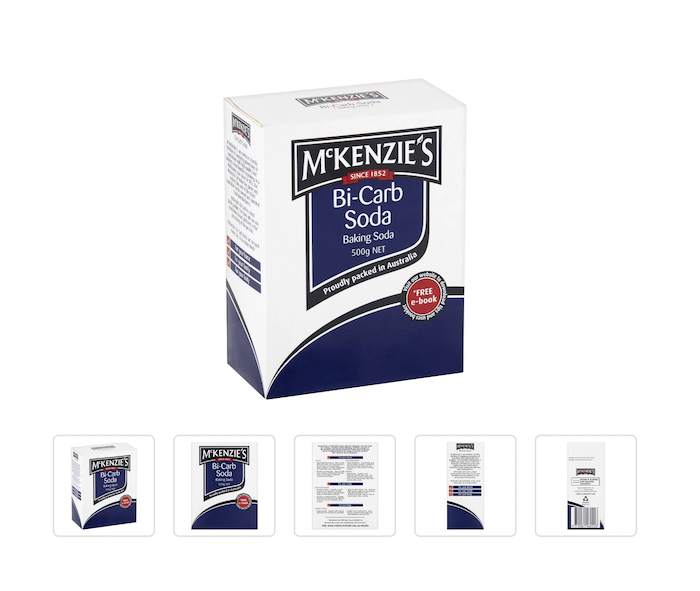
Baking soda is a pure form of sodium bicarbonate, which is a white powder that can be used for many different purposes. You may be wondering about the difference between bicarbonate of soda and baking soda, but they are actually just two different terms for the same thing.
Bicarb is short for bicarbonate, but you will often hear the term ‘bicarb’ soda rather than bicarbonate.
You can pick them up at all supermarkets, including Woolworths, Coles and Aldi. They retail from around $2AUD for a 500g packet.
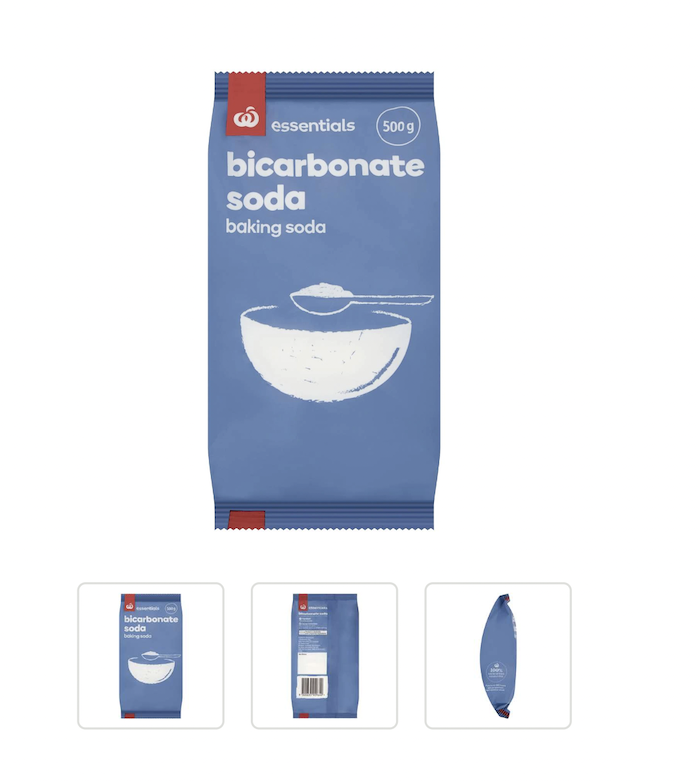
At time of writing this article, Woolies has their home brand bicarbonate soda for $2.45AUD for 500g.
Bicarb soda is a non-toxic, affordable and effective at cleaning oven grease.
Baking soda is alkaline and baked on grease and foods are acidic meaning baking soda is effective at breaking down grease, making it easy for you to wipe it up.
Why is baking soda better than chemicals for cleaning your oven?
Using baking soda and vinegar is a natural way to clean the oven. Therefore you dont get all the fumes and chemicals.
Making up the baking soda cleaning oven mix
You will need:
seven tablespoons of baking soda
200ml of vinegar
four tablespoons of water
get container to mix it in; eg bowl of glass jar
gloves
sponge
spray bottle
How to clean an oven with baking soda
Step 1: To make your bicarb (baking soda) paste, mix seven tablespoons of baking soda (bicarbonate of soda) with three tablespoons of water in a regular bowl until you have a spreadable cleaning paste.
Step 2: Completely empty your oven by setting any trays, racks, and oven dishes aside.
Step 3: Make up your spray bottle of vinegar and water.
We recommend 3:1 vinegar and water ration.
Step 4: Scrape off any big chunks of burnt residue. The wipe out of the oven with a water and sponge.
Step 5: Next, get your gloves out and coat the inside surfaces with a sponge, using your hands and fingers to really get the paste into all the little parts.
Warning: avoid the heating elements when applying the paste.
Step 6: Let it sit overnight – or at least 12hrs.
Step 7: pop the gloves back on and wipe up all the dried paste.
Step 8: Spray vinegar onto the inside of your oven, targeting the grime. The mixture of vinegar and baking soda will create foam and bubbles that will help to loosen the grime and identify any residue.
Step 9: Take a damp dishcloth and wipe down any remaining foamy areas of the oven. Spray and wipe away the vinegar until your oven looks as clean as new. If there are any stubborn areas, you can use a scrub brush to remove any residue.
The Glass: You can clean your oven glass with a paste made of baking soda and water. Just spread the paste across the affected areas and leave it for 10 minutes. Then, return with a spray gun filled with a vinegar/water solution and spritz the paste to create the fizzing reaction. Scrub away any residue with a non-scratch sponge and then shine with a microfibre cloth.
How to clean your oven with oven cleaner
Step 1: Remove the racks out of the gas or electric oven and clean them separately.
Soak the racks in hot, soapy water for 30 minutes to an hour. You can soak the racks in your kitchen sink, but if that’s too small, soak the oven racks in the bathtub or a large storage container.
Pro-tip: placing a towel at the bottom of the bathtub will prevent the racks from scratching the bathtub surface.
Step 2: Use a cloth to remove any loose debris from inside the oven. Don’t worry about scraping anything that’s stuck to the oven just yet.
Now, using your chosen cleaner, thoroughly cover the inside of your oven. This includes the oven walls, floor, and ceiling. Don’t forget to get in all the nooks and crannies.
The oven door can also be covered with the cleaner, but for a deeper clean of the oven door, follow step 5.
If you’re using bicarb soda, create a thick paste using a quarter cup of bicarb soda and a few tablespoons of water.
Burnt bits on the bottom of your oven might need a thick coat of the synthetic cleaner or bicarb paste. This will allow it to cut through the grime, and save you some elbow grease when it comes to the final clean out.
Once you have applied cleaner to the inside of the oven, it’s time to close the oven door and let it soak. Store-bought oven cleaners usually specify the wait times on the label. It’s best to follow these wait times as synthetic cleaners are toxic and can prove to be corrosive to your oven surfaces if left for too long. On the other hand, bicarb paste will cut through the grease in about 30 minutes to an hour. You can also leave the bicarb paste for up to 12 hours for an extremely dirty oven.
Step 3: Spray and wipe the exterior oven surfaces
Remove the oven knobs and soak them in hot water or white vinegar for about 30 minutes.
While the knobs and oven cleaner is soaking, clean the outside of the oven. Spray the oven surface with multipurpose cleaner or a mix of equal parts water and white vinegar, and wipe down with a clean microfibre cloth. Using another dry soft cloth will give you a streak-free finish on the glass.
Scrub the knobs and rinse. Dry the knobs properly, and pop them back onto the oven.
Step 4: Wipe the interior surfaces.
The store-bought cleaners can be wiped out after the allocated time.
When using bicarb paste, a light spray of white vinegar will activate the mixture. The foaming reaction between the bicarb and vinegar will cut through the toughest grime.
You can wipe the oven clean now using a cloth or sponge.
Step 5: Cleaning your oven door
Modern-day ovens are usually designed to have two latches or levers that are able to be unlocked. These latches secure the door to the hinge. The instructions on detaching the door from the oven may differ based on the type of model, as well as if it’s a built-in or freestanding oven. Check the manual for exact instructions on how to take the oven door off.
Once the oven door has been removed, gently place it handle-side down on a benchtop that has been padded with soft tea towels. The oven door has two glass panes: the cool to touch exterior pane and an interior pane. Carefully remove the glass panes and place on a benchtop lined with tea towels to prevent damaging the glass. The glass can be cleaned using dishwashing liquid and warm water. If there is debris stuck to the glass, a scraper might be needed. However, it’s best to check in the manual if your oven’s glass panes have a coating that may be damaged by the scraper.
Step 6: Returning the racks
After the racks have soaked, scrub them with a scourer.
Dry the racks with a tea towel, and slide them back into the oven.
Pro-tip: Heating the oven at 100℃ for 10 minutes will ensure that the racks are fully dried. This will prevent the racks from rusting.
Is there a quick way to clean the oven?
Short answer, no. While applying the cleaning product hardly takes 10-15 minutes, it’s the soaking that takes the most time.
But feel free to apply the product and grab a drink to relax while the product does all the hard work. Then come back in 30 minutes to an hour, and give it a quick wipe down.
Even better, let the baking soda paste soak overnight and come back the next day, refreshed after your well-earned beauty sleep!
In conclusion, cleaning an oven can seem like a tedious task, it does not necessarily need a lot of elbow grease. Deep-cleaning your oven periodically is important to maintain a hygienic space to cook your food in. The longer you put cleaning your oven off, the more stressful you may find it to start hacking away at the grime. However, letting the oven cleaners to sit and soak breaks up the grime and significantly minimises the amount of scrubbing required. And while the soaking does take a long time, the time it takes for you to actively clean the oven won’t be that long.
Happy cleaning!
Did you like this info about cleaning? Then be sure to check out our latest article on cleaning your drain.
Written by At Your Maintenance, your local plumbers and electricians who install and repair ovens.