Fixing a leaking shower tap can seem overwhelming, but with the proper tools and instructions, it can be a breeze. Take a look at our comprehensive guide to quickly and effortlessly fixing your leak.
Plumbing systems can be quite complex, and addressing issues such as leakages in shower taps can be a time-consuming task. Trust us, the incessant sound of water dripping from a leaky tap can become quite annoying over time.
Leaks are not only costly but also deplete your water supply. Promptly addressing this issue is crucial to avoid future problems.
WHY IS MY SHOWER TAP LEAKING?
Before attempting to repair a leaky shower tap, it is crucial to identify the root cause of the problem. By pinpointing the underlying issue, you can then proceed to implement the most effective solution.
Damaged Shower Head
Leaking shower taps are often a sign of trouble with the shower heads. The valve that governs the water flow to your shower, known as the shower head valve, can become corroded or damaged, resulting in water seeping out of the tap.
Clogs
A dripping shower head can be caused by clogs or blockages in the valve. Over time, minerals in the water build up along the inner walls of the valve, obstructing the flow of water. As a result, water pressure builds up within the shower valve, leading to leaks through the faucet body.
General Use
The shower system is made up of various components and moving parts, including the tap washer, rubber O-rings, and gaskets. As time goes by, these parts naturally wear out from regular use. And when they do, water begins to leak through the tap.
HOW TO FIX A LEAKING SHOWER TAP
Once you’ve identified the root cause of a leaking shower head, it’s crucial to take action and fix it promptly. To ensure a smooth and efficient process, it’s essential to make thorough preparations. This involves carefully planning the task, gathering all the necessary tools and equipment, and preparing the workspace accordingly.
If the tap valves have become corroded or damaged, you must replace them entirely. Plan your approach accordingly, taking into account the identified cause.
If certain components, like the O-ring or washer, have worn out, you can easily replace them with new ones. And if the problem is caused by clogs, you’ll need to clear them using a pressurised water jet, drain snake, or an anti-clogging agent.
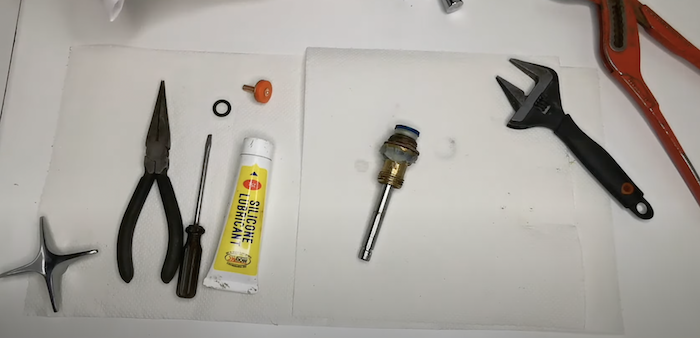
Tools Needed
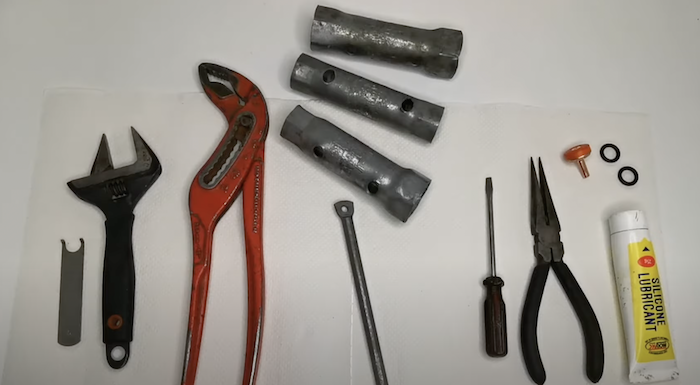
Before you can proceed with the repairs, you must first disassemble the shower fixture. In order to do so, it is essential that you gather all the necessary tools beforehand.
To fix a leaking tap, you’ll need a few essential tools: an adjustable wrench, a flat-head screwdriver, a tap spanner, plumbing tape, a small knife, tap connectors, and lubricants. If you don’t already have these items at home, you can easily find them at your local hardware store.
Once you’ve gathered all the necessary tools, it’s time to set up your workplace and get started on the repair. Follow the step-by-step procedure below to fix that pesky leak.
Turn off Water
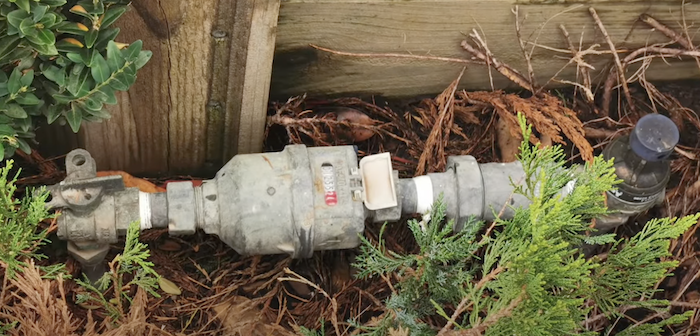
Before you begin any repairs, it is essential to take this preparatory step: shutting off the water supply to your entire house. This can be easily accomplished by locating and switching off the water mains, which are typically found in Australian homes outdoors on the front boundary.
It not only prevents you from getting soaked during the repairs but also helps minimise water wastage. By turning off the mains, you are taking a responsible approach towards conserving this precious resource.
Cover Drain
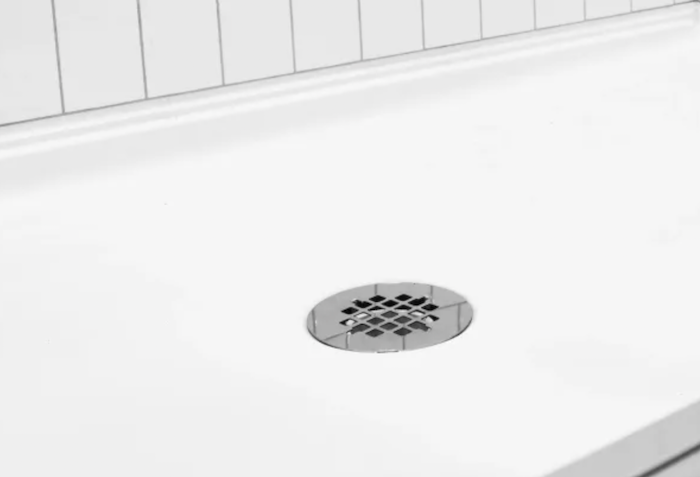
Don’t overlook this crucial step: cover the shower drain with a rug. By doing so, you’ll avoid the hassle of screws, tape, and sealants falling through the drain.
You definitely want to avoid that scenario, as it can lead to a whole new set of issues.
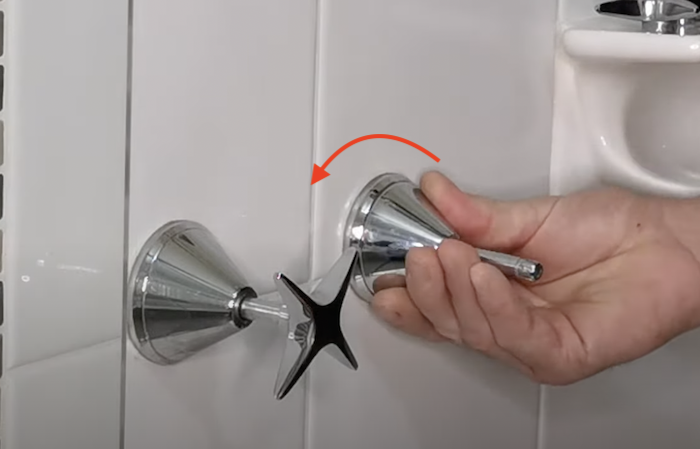
Turn taps to the Left

Turning taps to the left to unwind the tap.
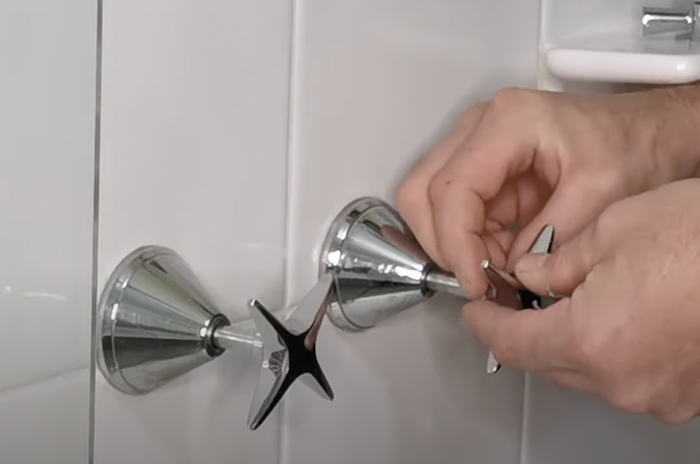
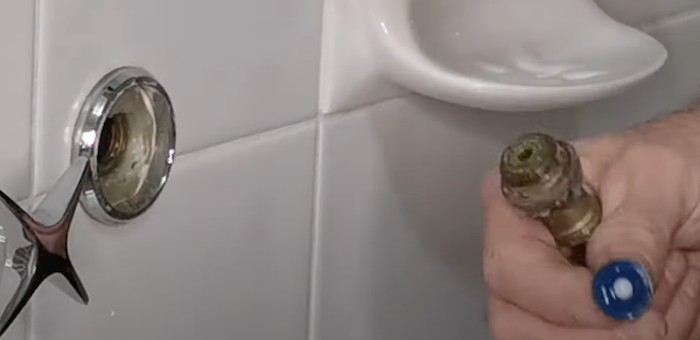
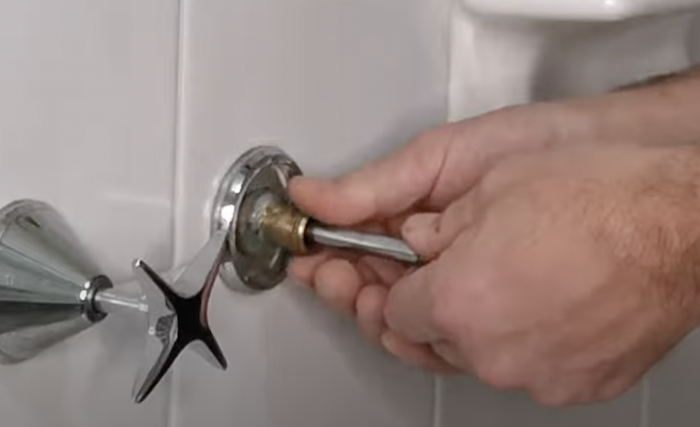
Remove Tap Spindle
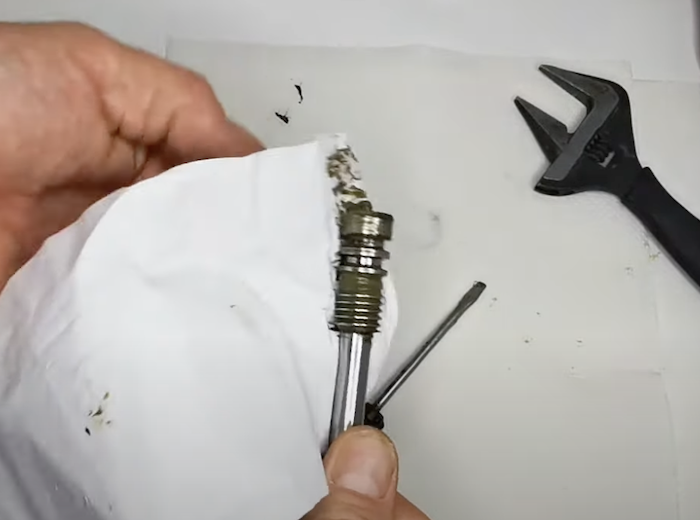
To make it easier to remove the shower tap, carefully scrape away any sealant or adhesive from its base. A sharp tool like a screwdriver or knife can be helpful for this task. Once you’ve cleared away the excess sealant, you’ll find it much simpler to dislodge the tap from the fixture.
Unscrew with fingers.
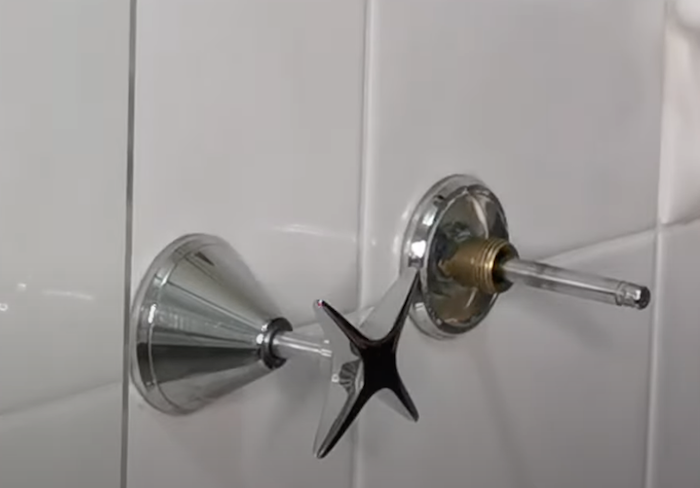
The internal handle is exposed, allowing you to proceed with removing the shower tap from the fixture.
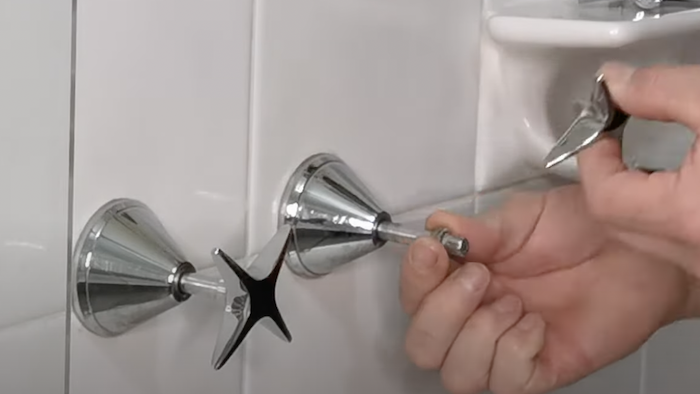
To do this, use a flat-head screwdriver to gently loosen the handle in a counterclockwise direction. Once the screw is removed, the handle will become dislodged, and you can easily pull it out to reveal the underlying tap assembly.
It’s important to note that sometimes the tap may fall off the shower arm, so be prepared to catch it if it happens. Avoid dropping it on the floor as this can cause cracks or damage to the handle.
For other taps, gently pull the handle from the shower arm. Be careful not to exert too much force, as this can dislodge the underlying assembly.
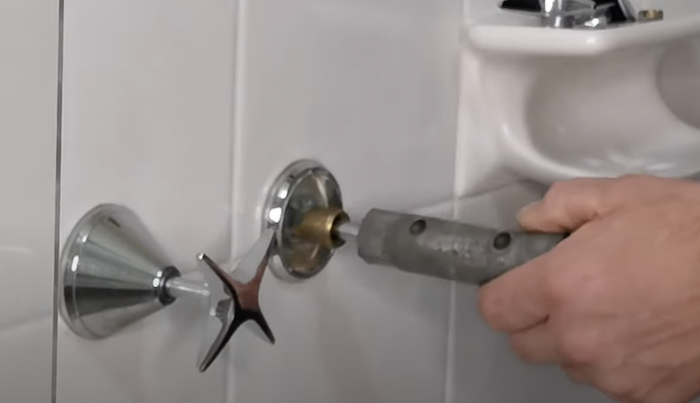
Use a tube spanner to remove the spindle.

Use bar to twist to the left.
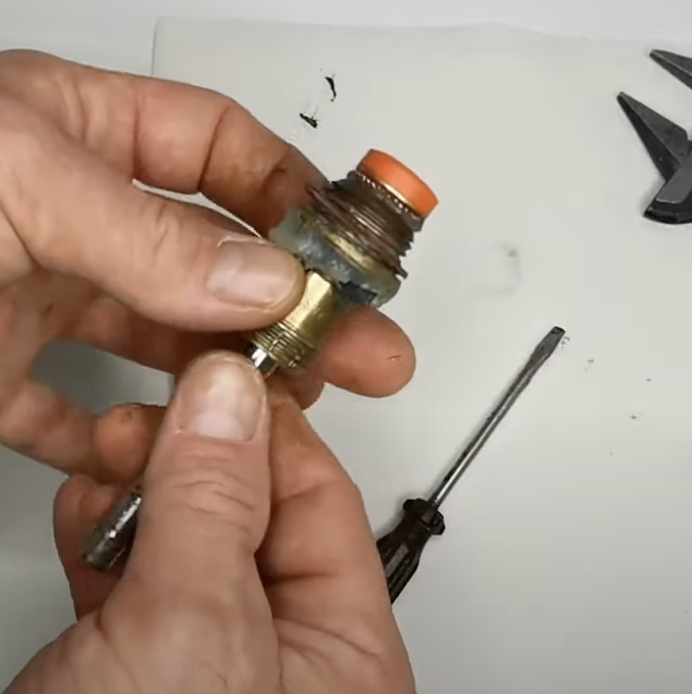
The spindle and washer come out
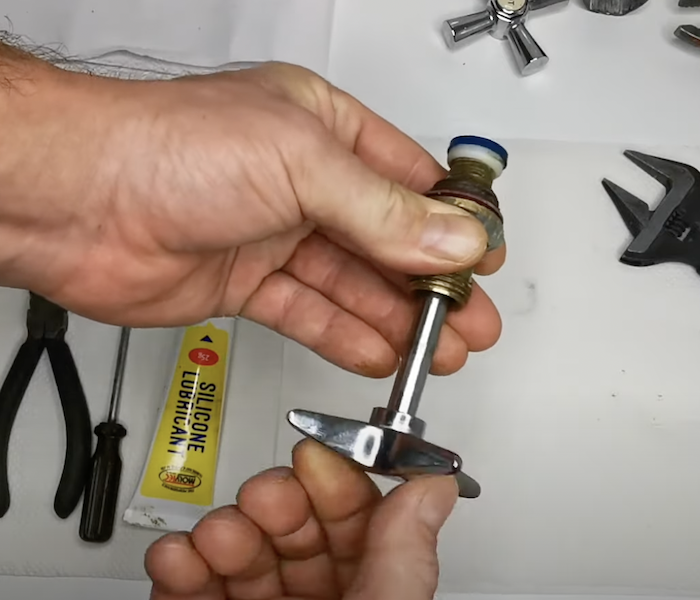
Change Washer + O Ring
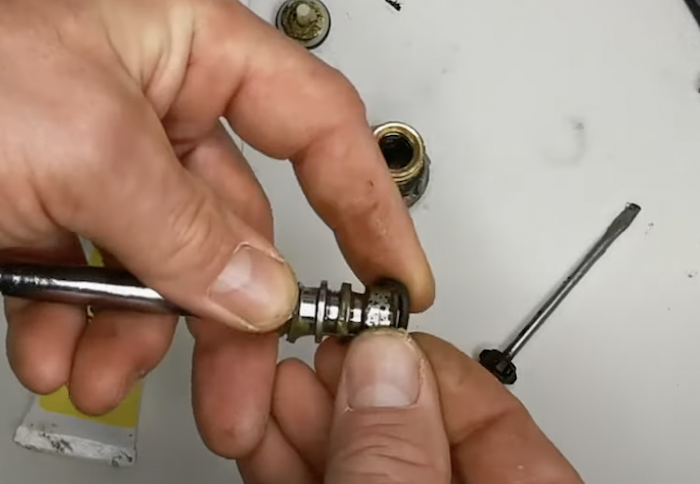
Check out the washer, the O-ring, and the tap spindle. If they’re worn out, replace them with new parts. Then, apply a fresh coat of lubricant wherever you think it’s necessary.
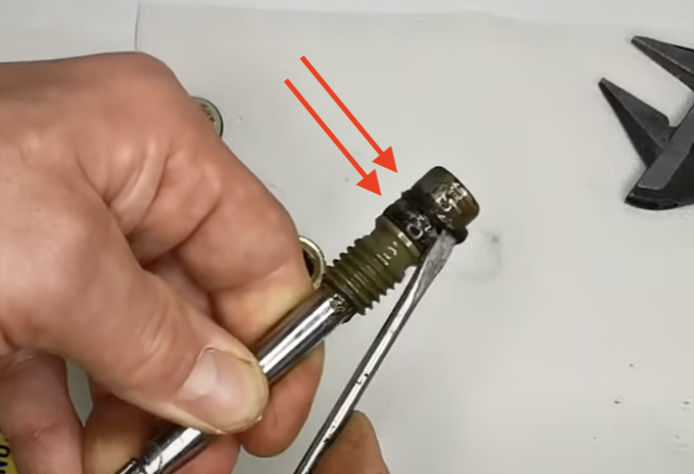
If the parts have corroded, they’ll be stuck to the tap assembly.
In that case, use a spanner to remove the corroded component and attach a new one. Similarly, if you spot any clogs in the faucet valve below, clear them out with an auger or an anti-clogging agent.
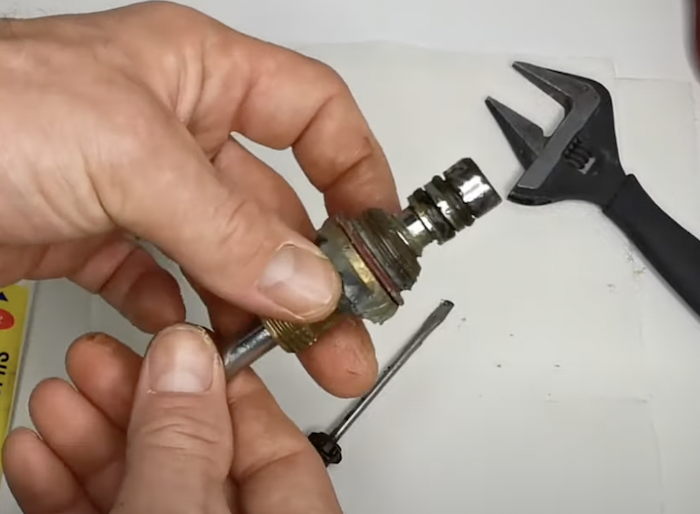
Unwind the spindle, by turning clockwise, you can use the tap handle for help.

Separate the two pieces.

Remove the washer
Use screw driver to pop off the o-rings
Clean off grease with a tissue
Put new o-rings on
Slide housing back on.
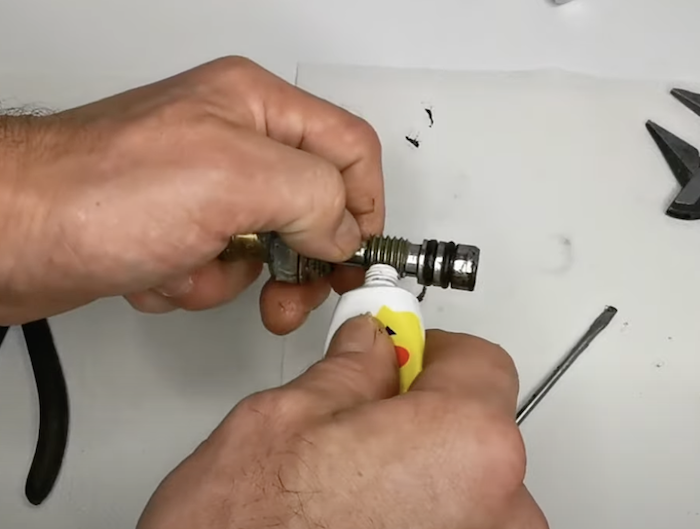
Put grease on thread.
Grease and place a new washer on the top
Reinstall Spindle
Twist back in
Once you have successfully resolved the problem, it’s time to reassemble the shower tap. Begin by putting the handle back on and securely tightening the handle with a screwdriver.

Next, reattach the handle cap and apply sealant near the base of the tap. Once these steps are completed, turn on the mains and you’ll be good to go.
To ensure everything is in working order, we recommend testing the tap before using it. Simply turn the valves for both hot and cold water supply to check for any leaks. If you don’t notice any leaks, then your problem has been resolved and you can go back to using your tap as usual.
